Maxus EPC User Manual
8 Software & hardware requirements
This is an internal confidential document, and the copyright is protected and authorized by SAIC MAXUS.
Without the authorization of SAIC MAXUS, any person may not reproduce, issue, or any purpose for commercial profit purposes in any way, including printing, copying, or through network of electronic documents.
1 EPC Introduction
This manual is for the guiding purpose of dealer users who will use the electronic parts catalog (referred to as: EPC system) to search parts catalogue related content.
EPC system includes catalogue browsing, parts locating, VIN query, and advanced searching, mainly 4 part-locating methods.
This is a web application (no need to install any client), please use an internet browser (ex, IE9+, Firefox, Chrome, etc.) to open the EPC URL which SAIC MAXUS provides, as below:
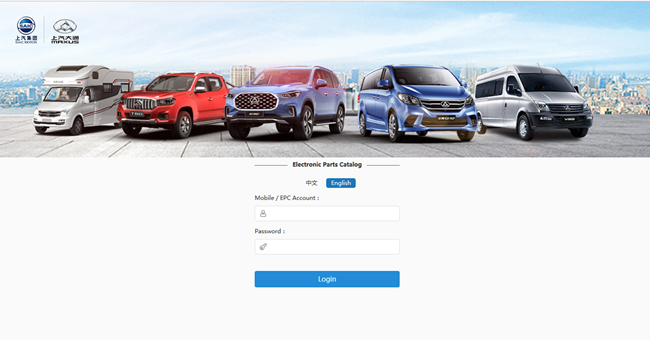
Please input username and password, click “Login”
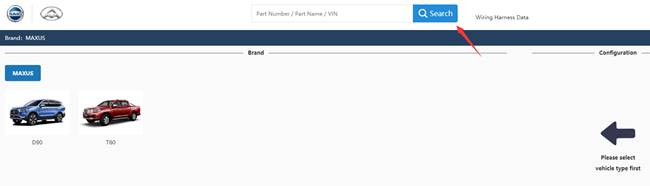
After logging-in successfully, you’ll see the following web page as below:

Select make, series, option to browse catalogue information. Please refer to <3. Parts Search>
If you do not know the part number, or not sure the usage of part, or cannot quickly locate the part through legend (assembly image), but you know the approximate name of the part, or relevant information, you can use the search textbox to find and locate your part and make orders. Therefore, the way we use is to help users quickly to grasp read-to-hand EPC system.
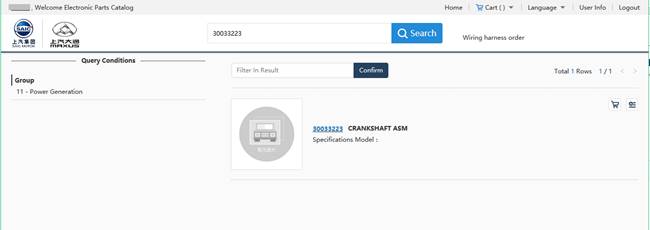
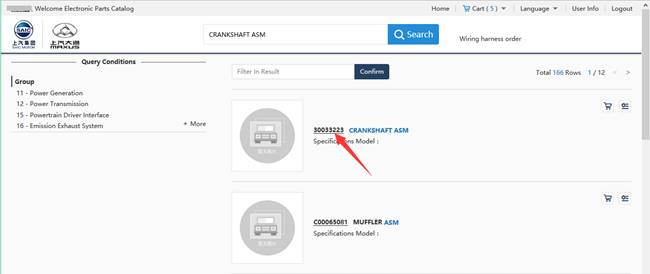
1. Search textbox as below:
1.1 Input complete part number and click “Search” as below:
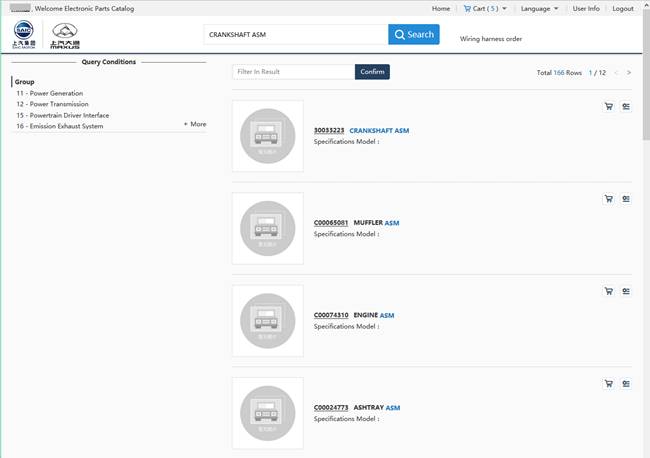
1.2 Input part name (even incomplete name works) as below:
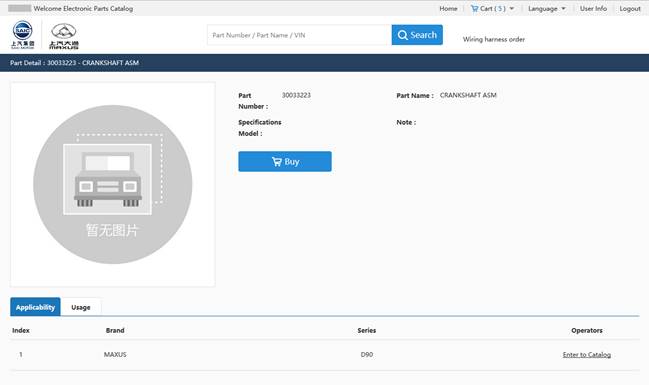
1.3 Part details
Click part photo or part number link to go to the “Part details” page, as below:
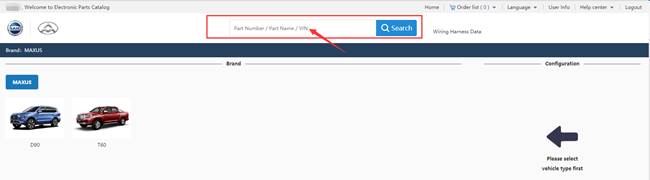
VIN is called a vehicle identification number and consists of 17 characters. It contains information such as vehicle manufacturer, year, vehicle type, body type and code, engine code and assembly location. VIN has a unique identification of the vehicle, after the combination of models, can make the model in 30 years will not be duplicate.
1. Input complete VIN, click “Search” button
2. Model configuration will be shown after inputting the correct VIN, you can choose to enter into “catalogue”, “configuration”, “service history parts list”, or “KSK”
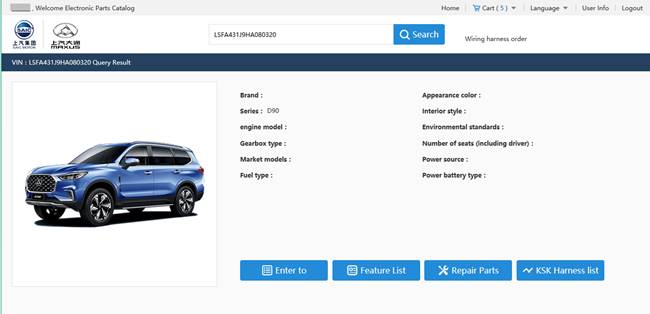
3. Enter the correct VIN, will display the model configuration information, you can click [Enter to] into the usage page, showing the VIN related information, as shown below:
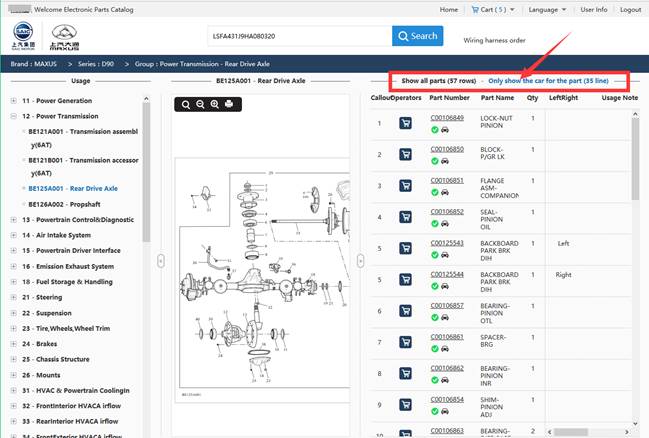
Click callout in assembly image, the part will be auto-selected in the right panel
Click part, related callout will be highlighted in the assembly image
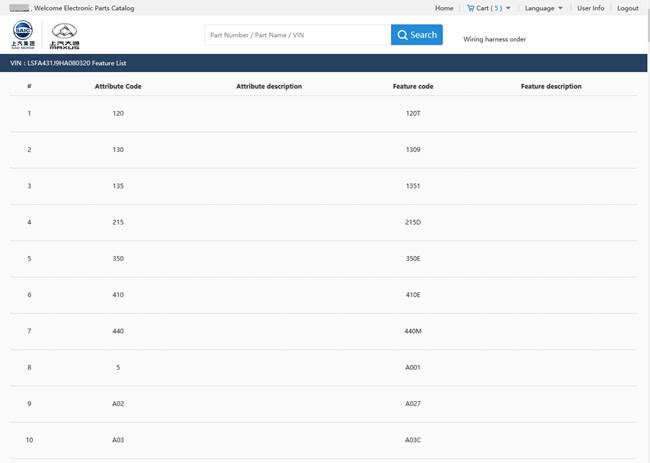
3. Enter the correct VIN to display the feature information of the vehicle. Click [Feature list] to enter into the feature description page and display the feature information, as shown in the following figure:
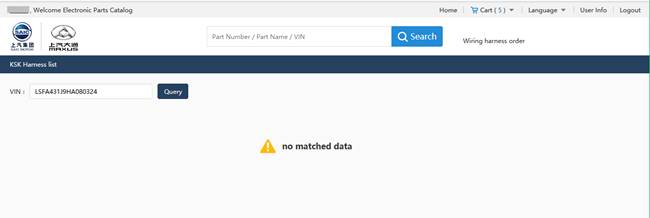
5. Enter the correct VIN, will display the model configuration information, and click [KSK wiring harness] into the KSK harness page, as shown below:

If VIN code input is wrong, or the VIN length is not enough, it will prompt an error, as shown below:
This section shows procedures of how to find and order parts
1. View part information: enter into catalogue by level, until to the part list page.
There are two ways to navigate through the catalog; one is the default way to use the navigation image, and the other through the tree navigation:
1.1 Brand à Series as shown in below:
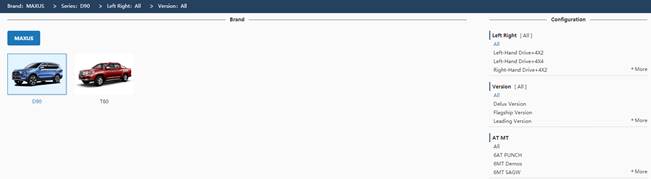
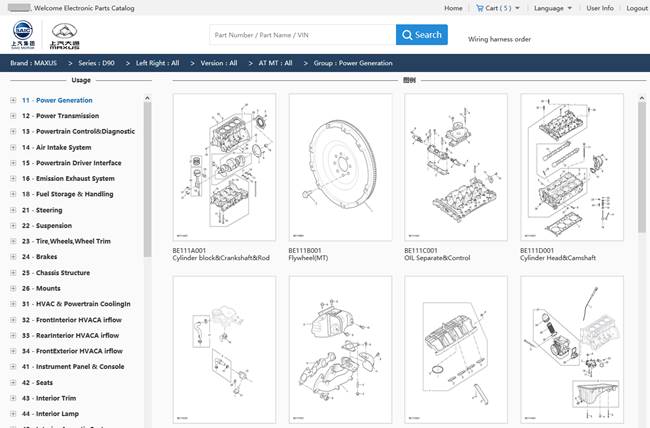
1.2 Select assembly group and image. All assembly images will be shown under the current selected group, click image, it will redirect you to the usage page (left group, middle assembly, right part list).
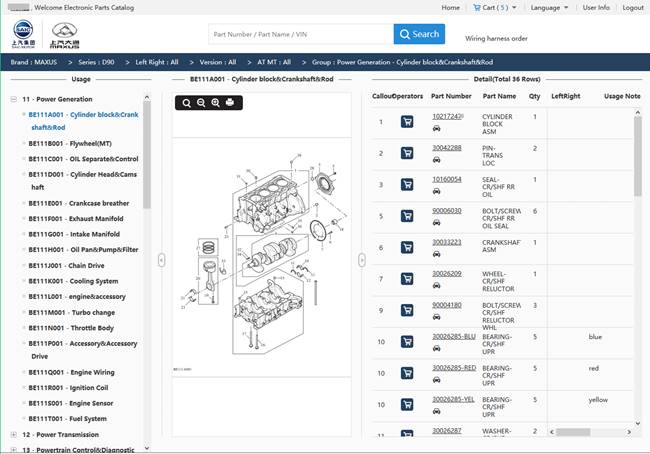
1.3 Locate parts
You can magnify, shrink and print assembly image and part list. You can click callout on the assembly image to locate parts which are shown in the right panel.
You can click part to locate callout position in the assembly image. You can view the supersession, user note, part details and usage information. Also you can order the part.
1.4 Add to cart
After clicking the [Cart] icon button on the left side of the part list, the part will be added to the shopping cart. The numeric glyphs in the upper right corner of the shopping cart icon at the top of the page will light up to remind how many parts have been added to the shopping cart.
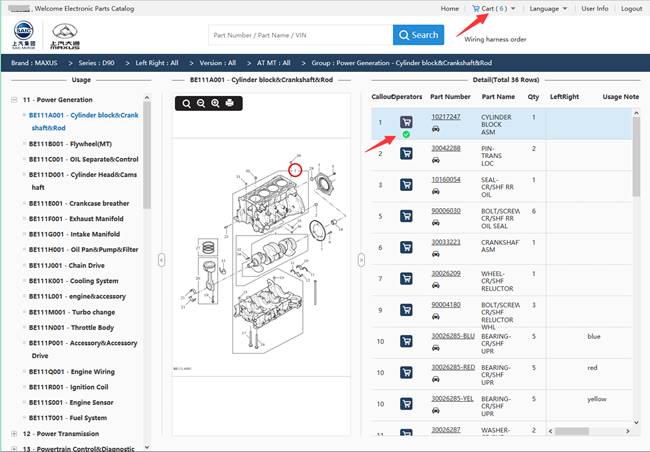
When the mouse is moved to the shopping cart icon, a small window pops up showing the information of the parts in the shopping cart. You can go to the shopping cart by clicking the button [Go to order].

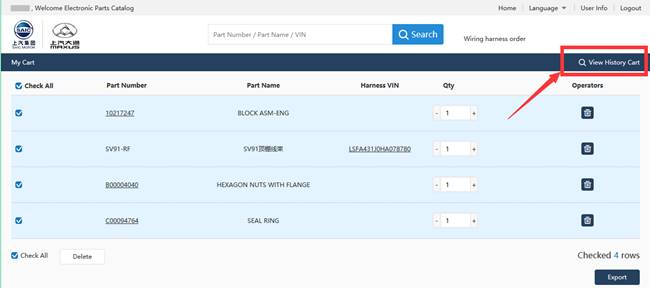
1.5 Order
1. You can modify ordered part count, click ‘Export’, to export the order excel sheet which contains all the ordered parts.
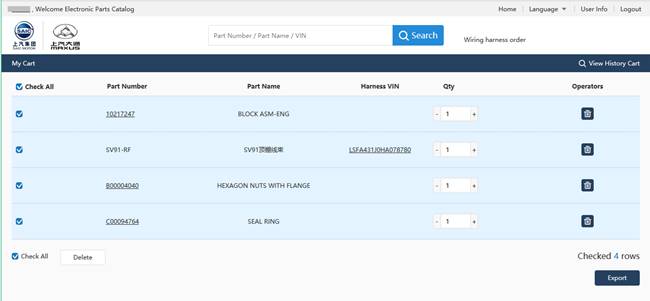
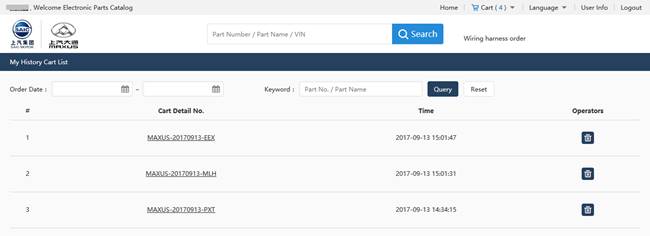
2. View history cart:
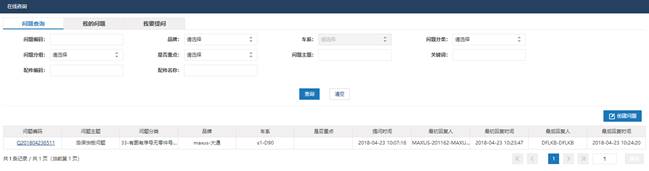
Online Service―“Questions”are cases that OEM revealed publicly to dealers for reference.
Online Service―“My questions”are questions that dealers submitted.
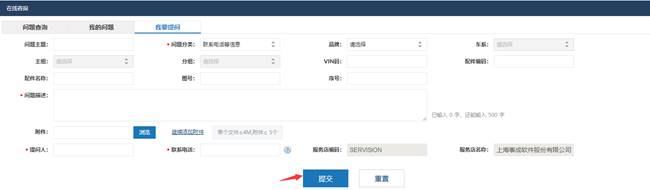
Online Service―“Ask question”is that dealers can ask questions about parts/epc to OEM.
1. Click ‘Ask question’, fill must-input fields, as question title, category, description, submitter, mobile, etc., as below:
2. Click ‘Questions’ as below:
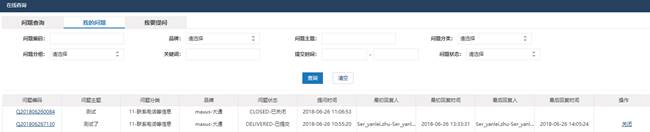
3. Click ‘My question’ as below:
User Center contains mainly the user's own information; the user center contains 5 sections: account information, dealer information, and sub-account management, change the password, system information.
1. Click “User center” as below:
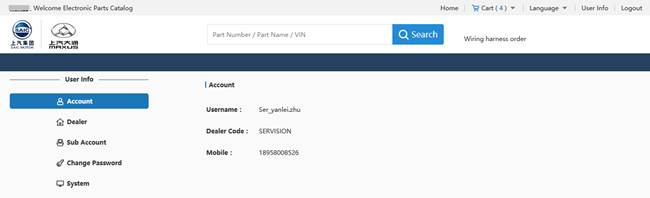
2. Click “Account information as blow:
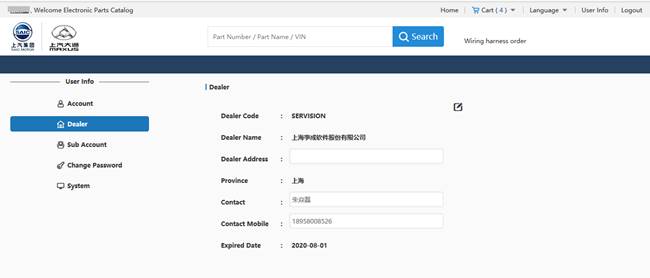
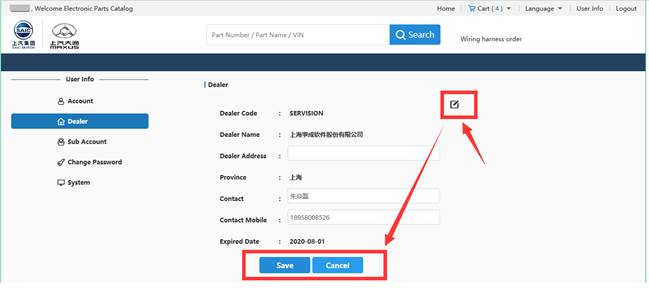
3. Click “Dealer information” as below:
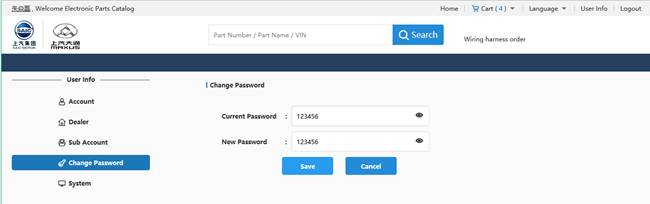
Change password:
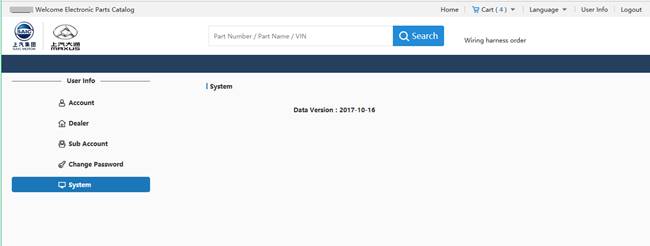
4. Show system data version information as below:
Minimum & recommendation
1. CPU: Dual core 2GHz
Recommend:4 cores,1.8GHz+
2. RAM:4GB
Recommend:8GB+, DDR3
3. Hard Disk:10GB
Recommend:100GB+
Minimum & recommendation
1. OS:Windows XP
Recommend: Windows 7+
2. Browser:IE8
Recommend: IE9+/Firefox/Chrome
3. Language: English